3 Simple Steps to a Food Photo Shoot
Planning a food photo shoot might seem a little overwhelming but following a few simple steps will make the process less stressful.
1. Research and Concept
Inspiration can come from anywhere. You could be walking down the street and see a child licking an ice cream cone. Half of the dessert is melting over his little fingers, and the other half is all over his smiling, purely joyful face. Despite the messiness, his ice cream LOOKS AMAZING and would make a great food photo.
You might research your subject online via Pinterest or other social media or be struck by a great idea while at a thrift store or grocery shopping. Stock photography sites like Pexels and Adobe Stock also are good inspiration sites if you need to kickstart your brain into creative mode.
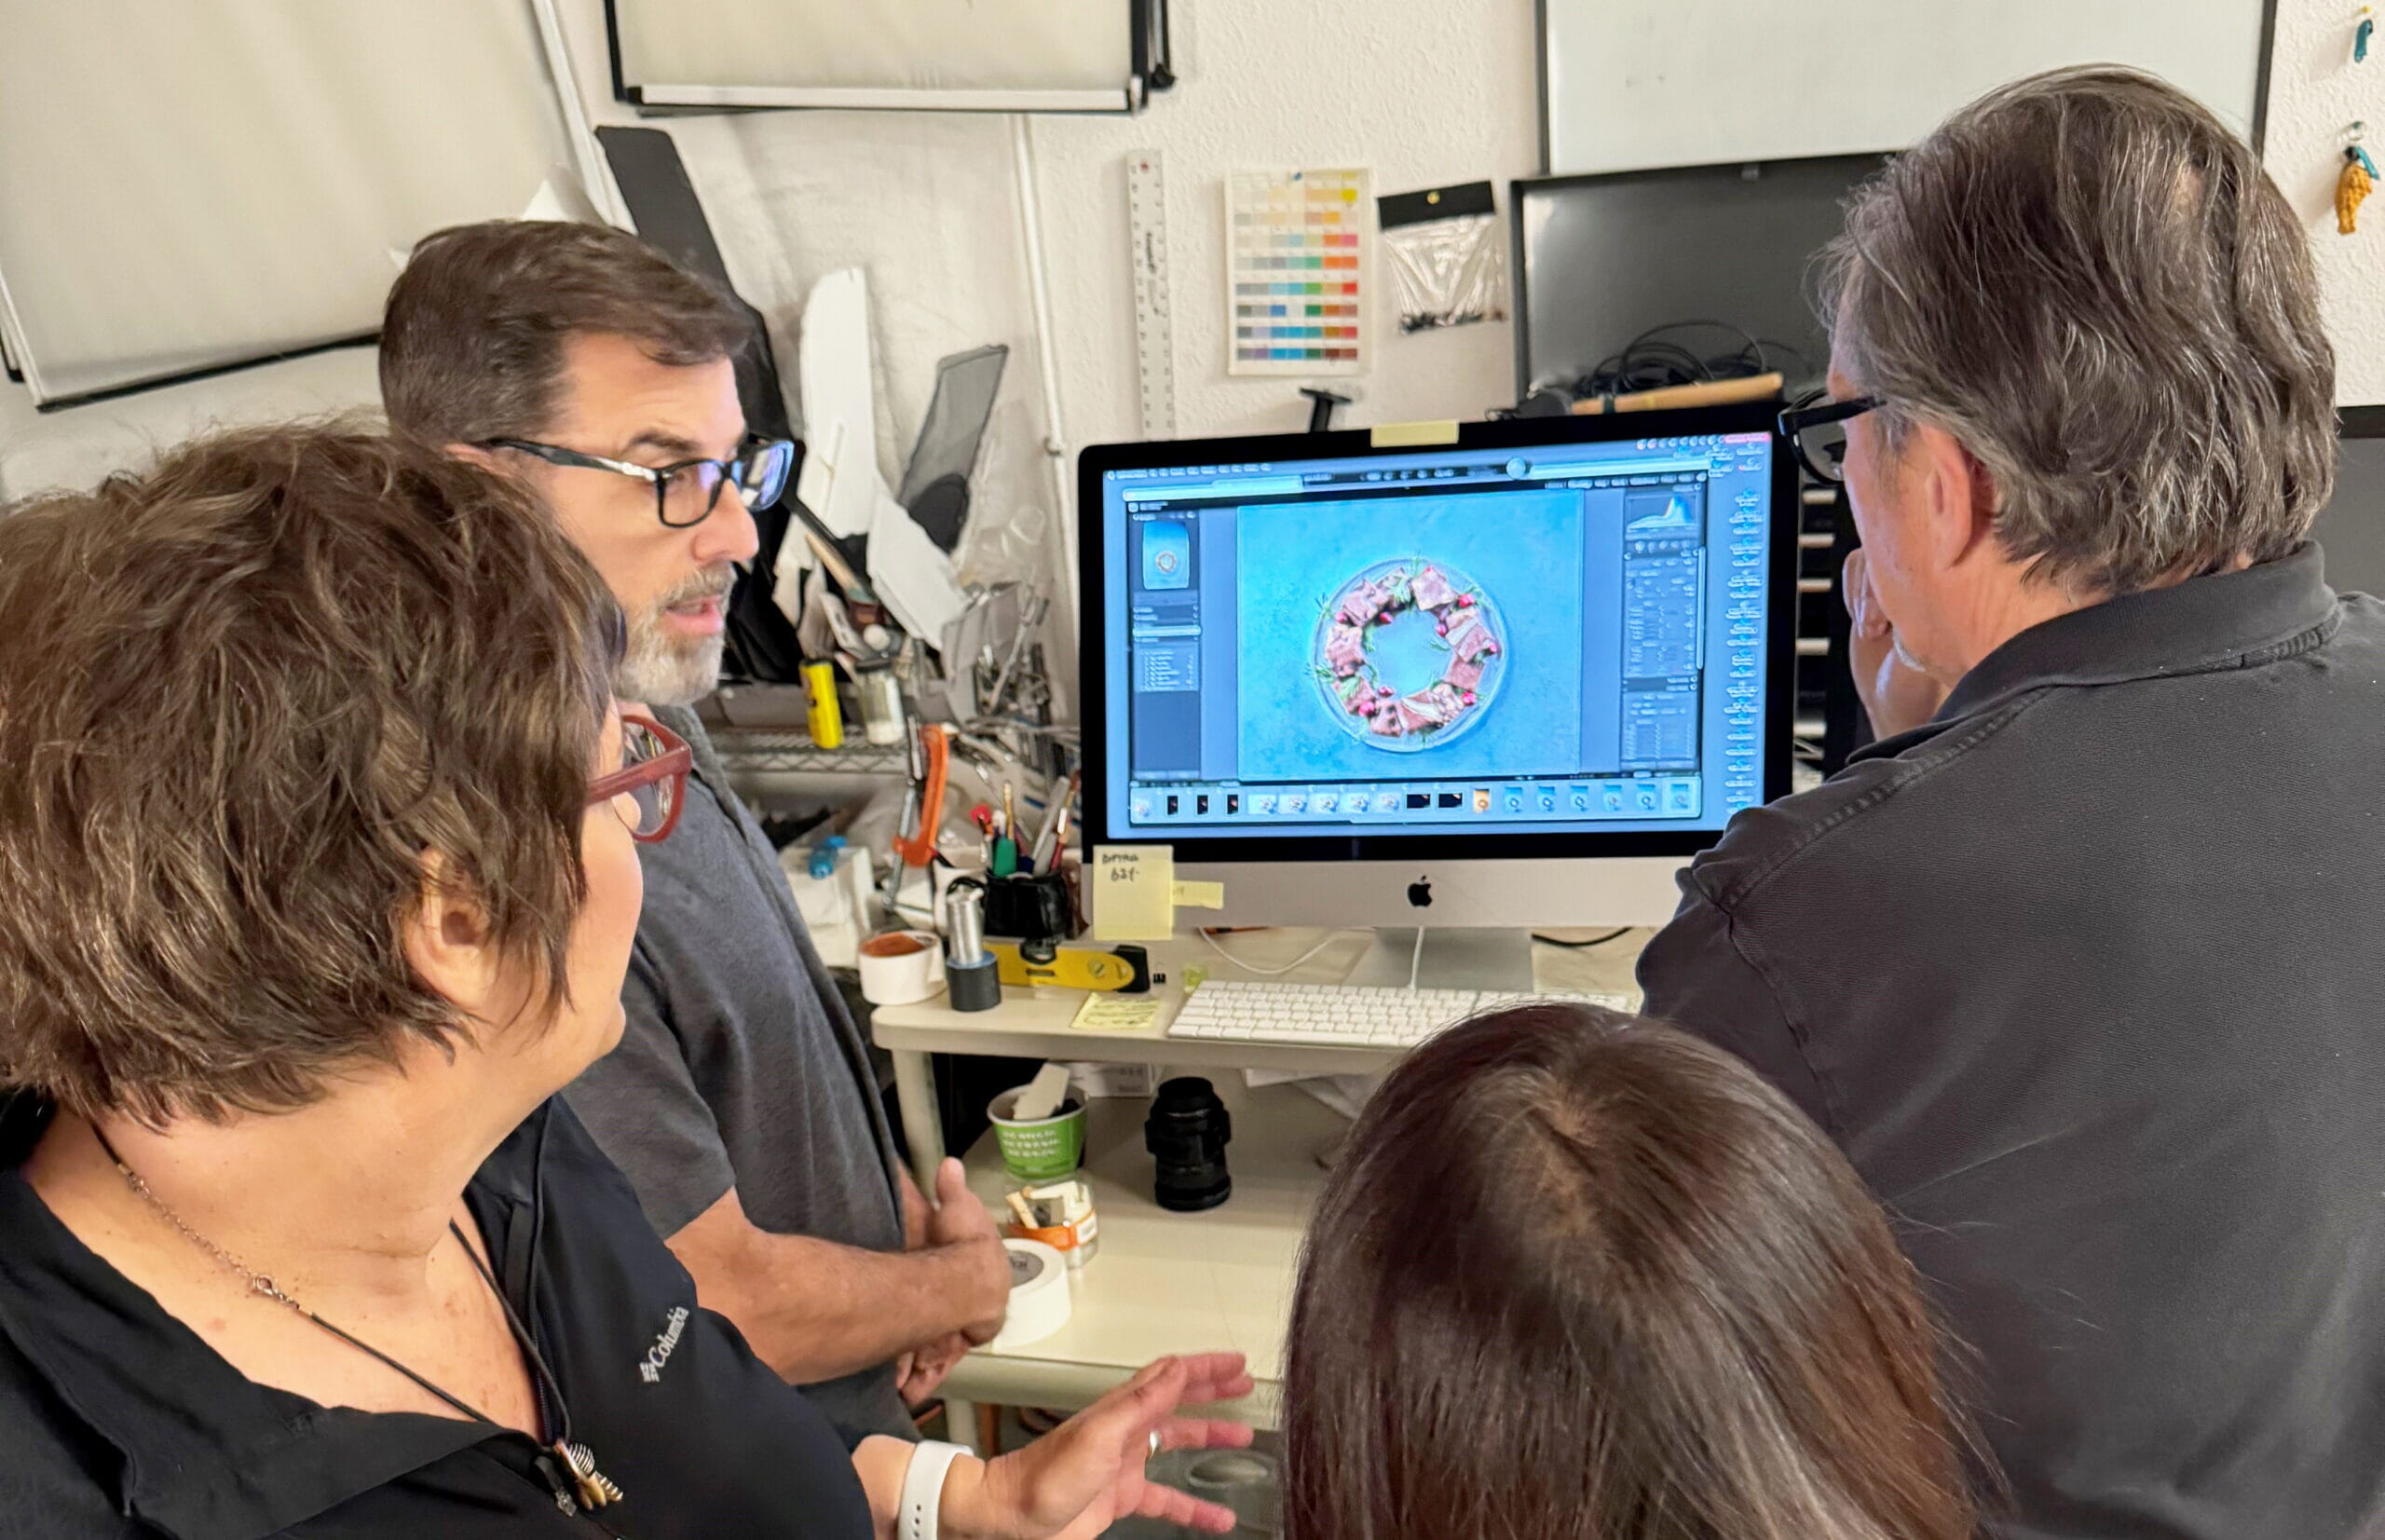
Gather your ideas and draw them out. How many variations do you envision for each concept? Creativity sometimes flows during the photo shoot with some photo ideas. Others? You need to plan. Create your detailed shot list and determine the desired angle, look and feel for each shot as much as possible ahead of time. This will save you time during the actual shoot.
Schedule a meeting with your professional photographer and food stylist to make sure everyone is on the same page and you have a complete list of items needed for each shot in your food photo shoot. When planning the order in which the shots will be taken, consider the camera angle. For instance, if multiple shots will need to be taken overhead, plan to take those shots before moving on to something that will need to be shot into. If using the same backdrop, take those shots before switching to a new setting. The more organized you are in your preparation, the smoother the photo shoot should go.
2. Gather Needed Items
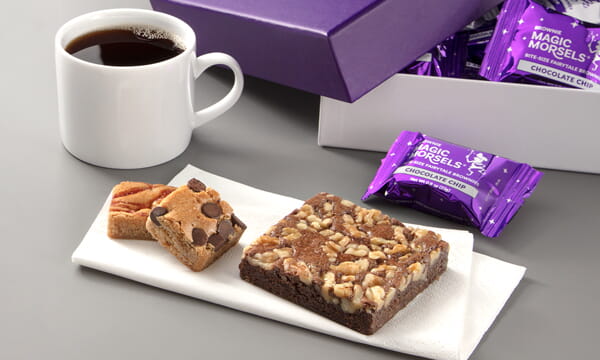
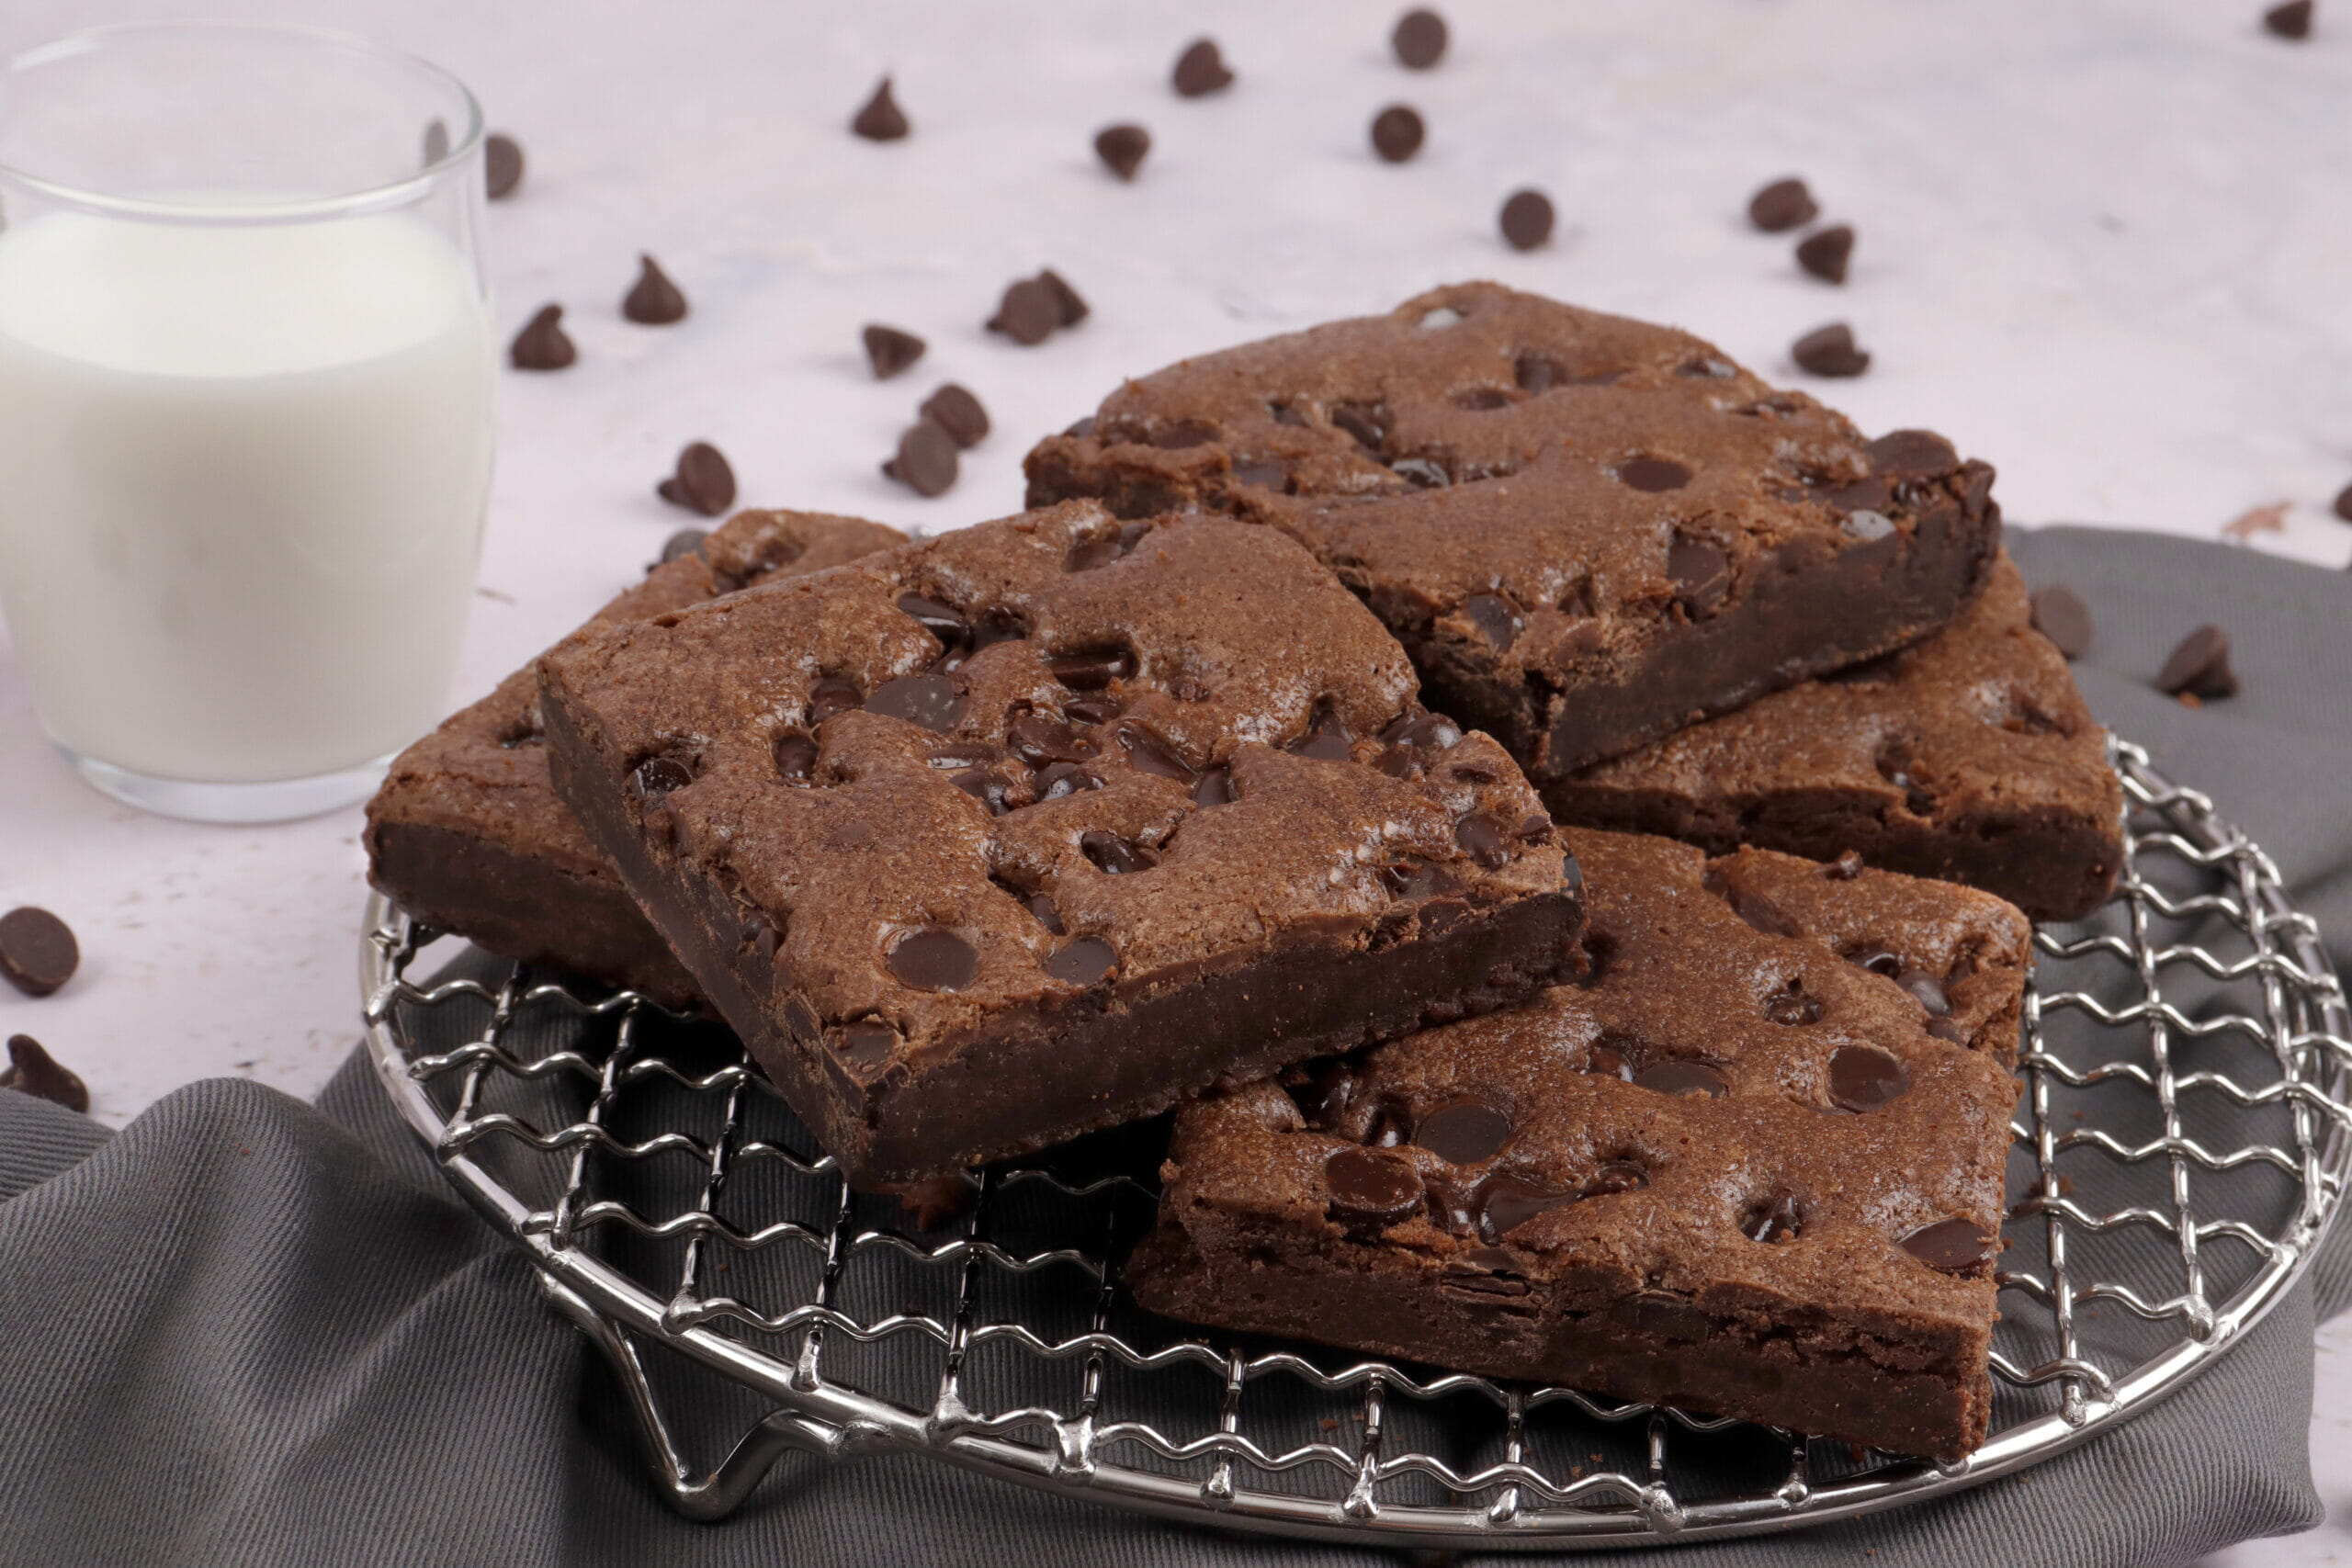
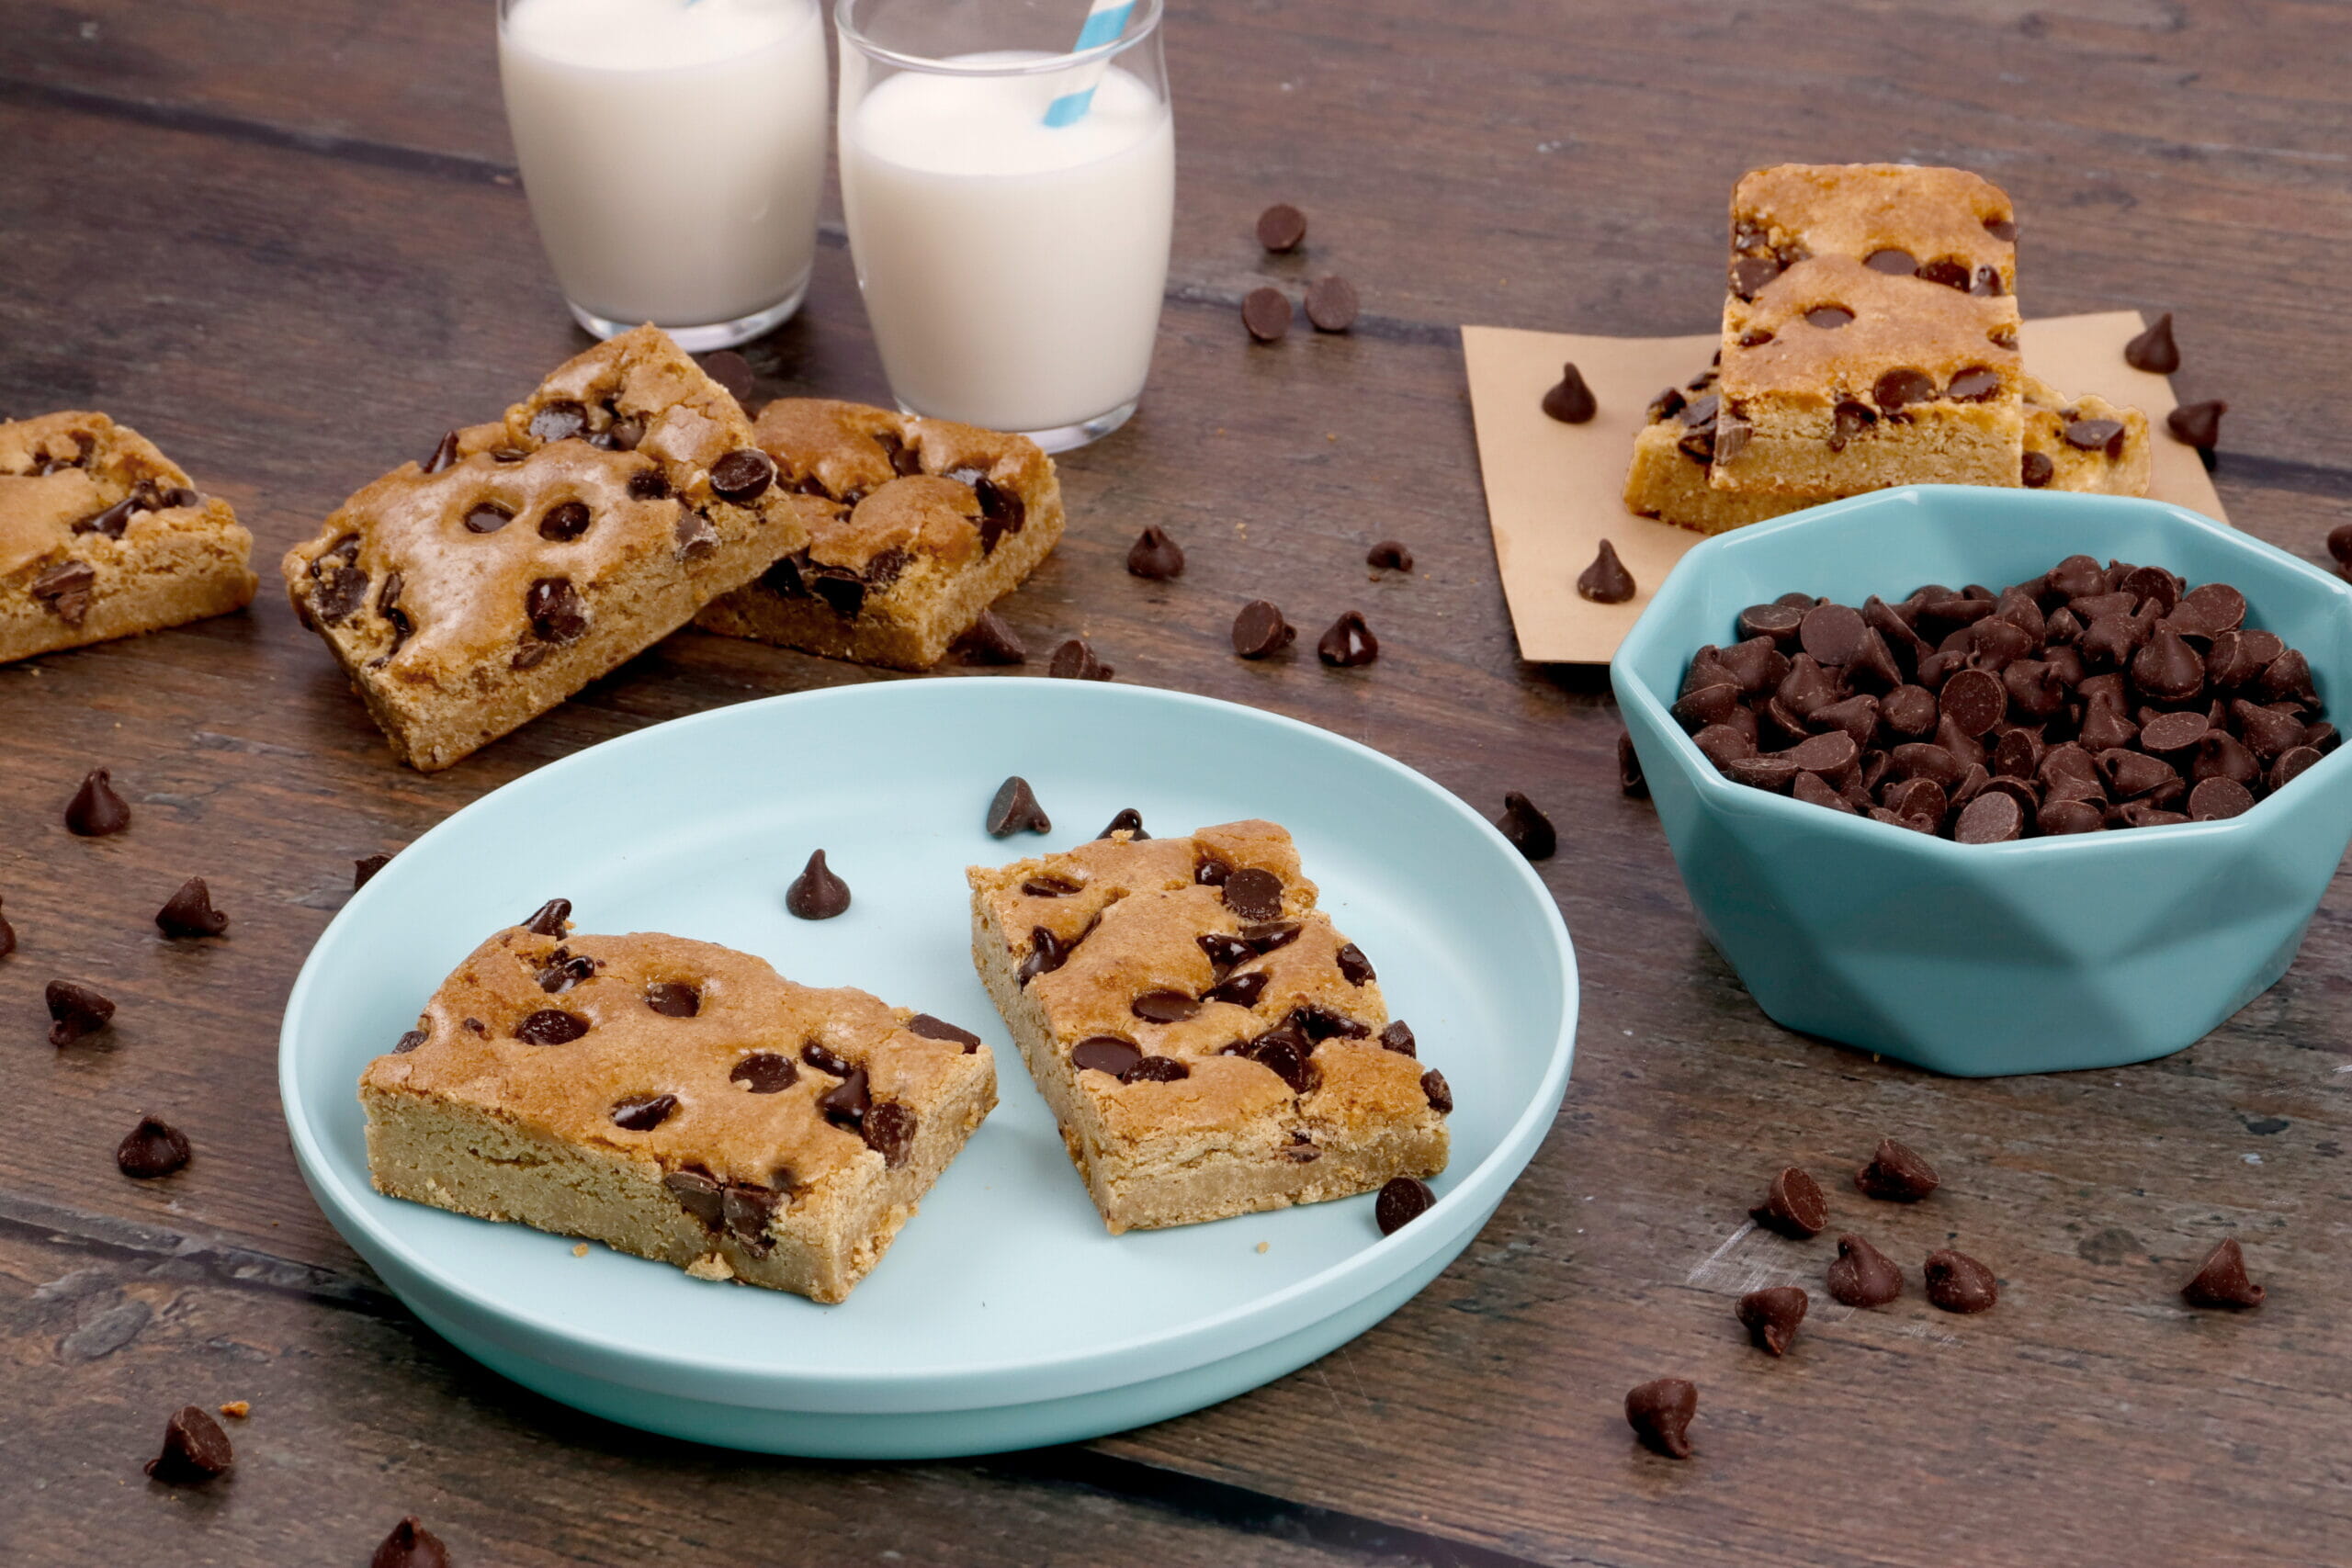
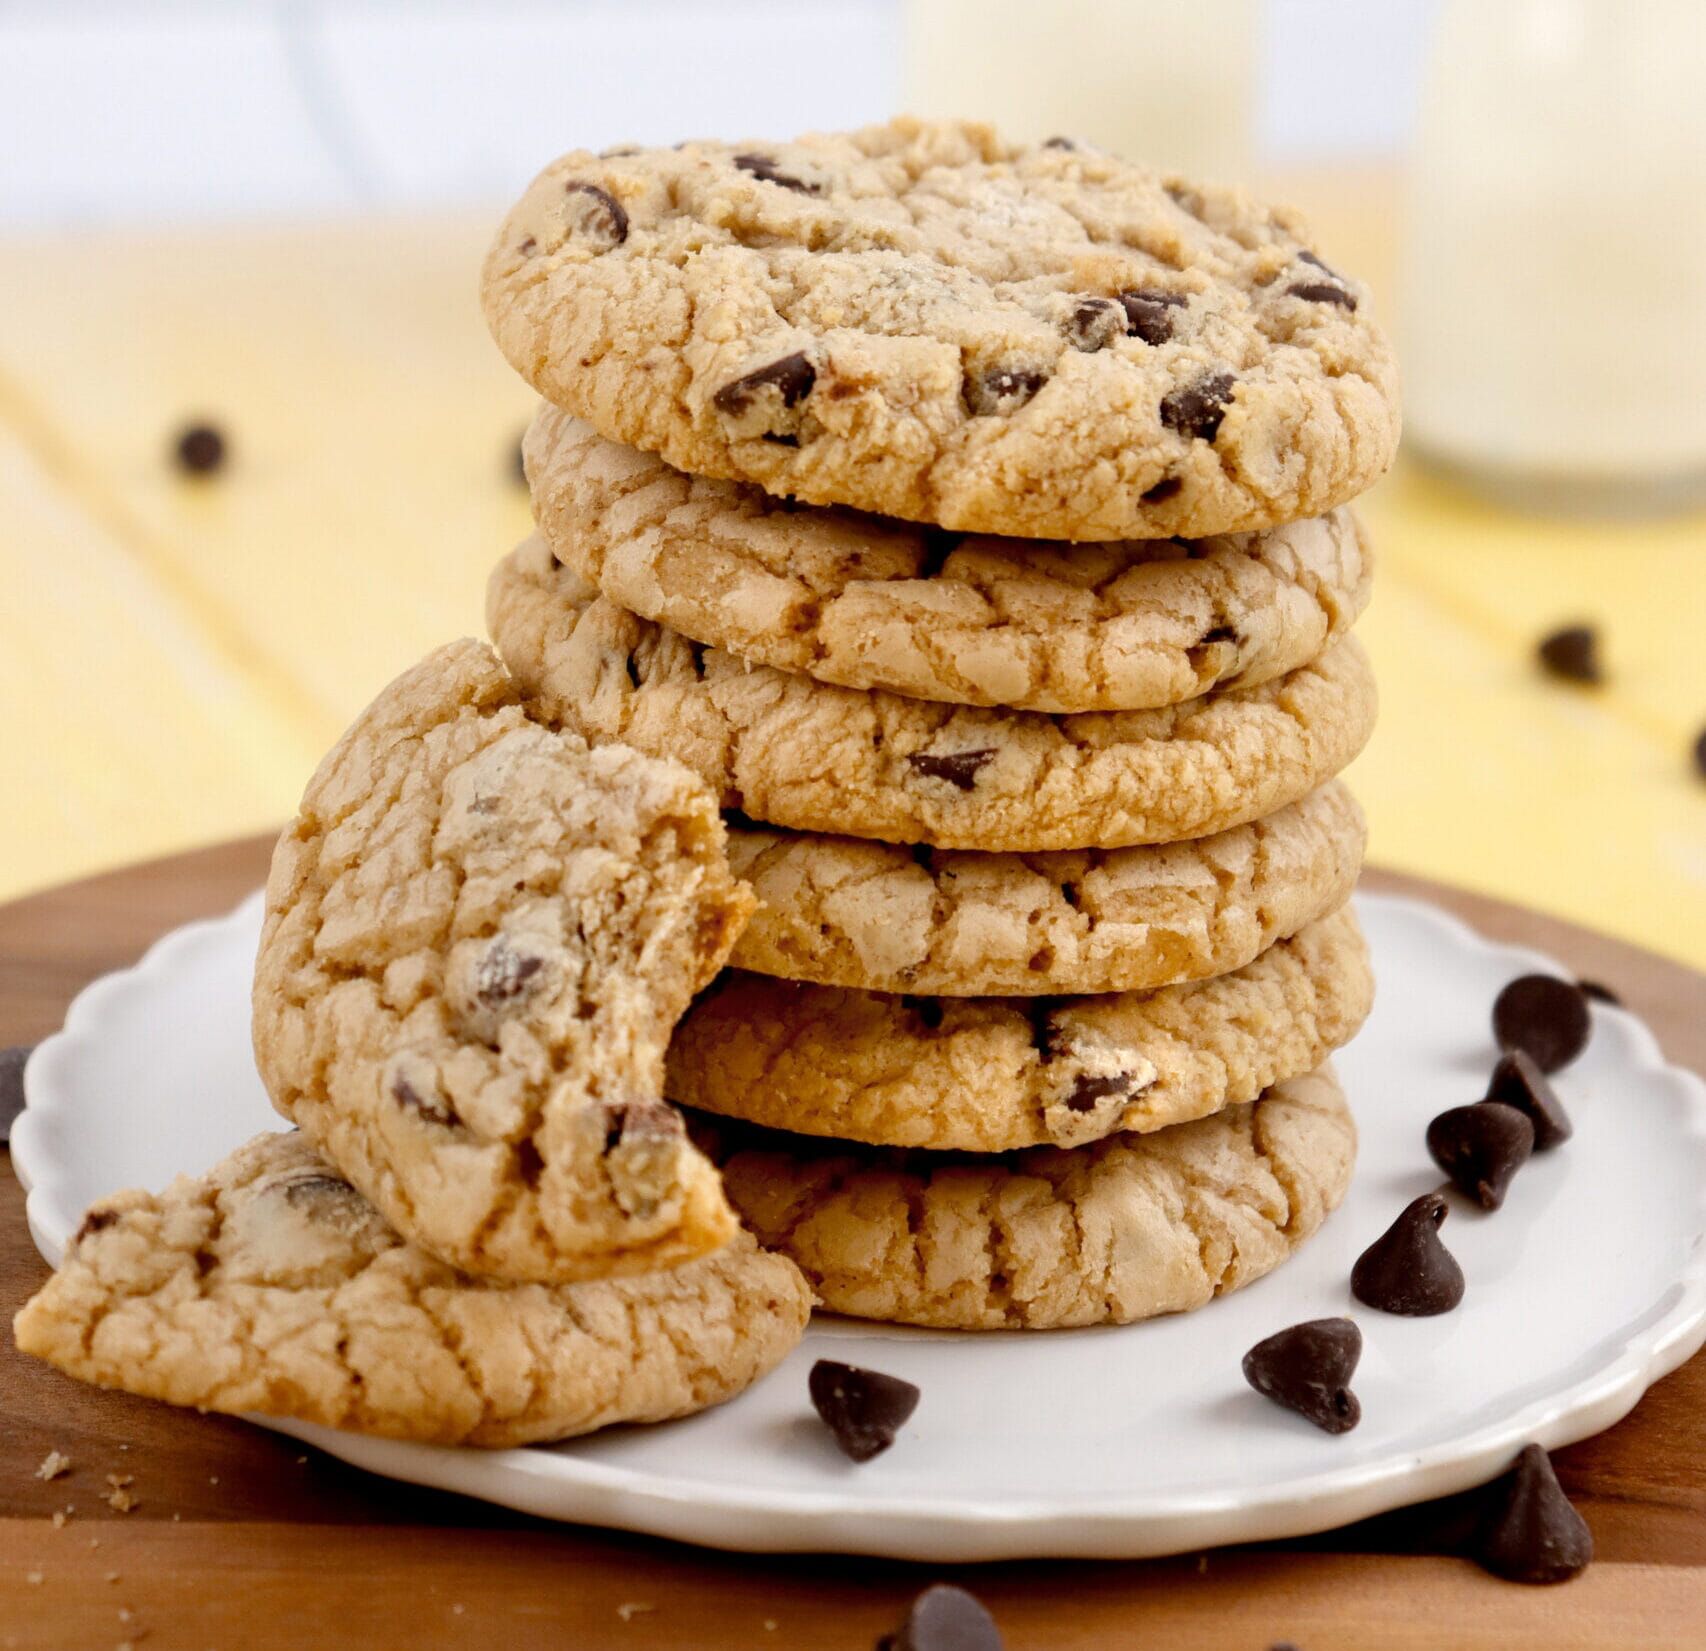
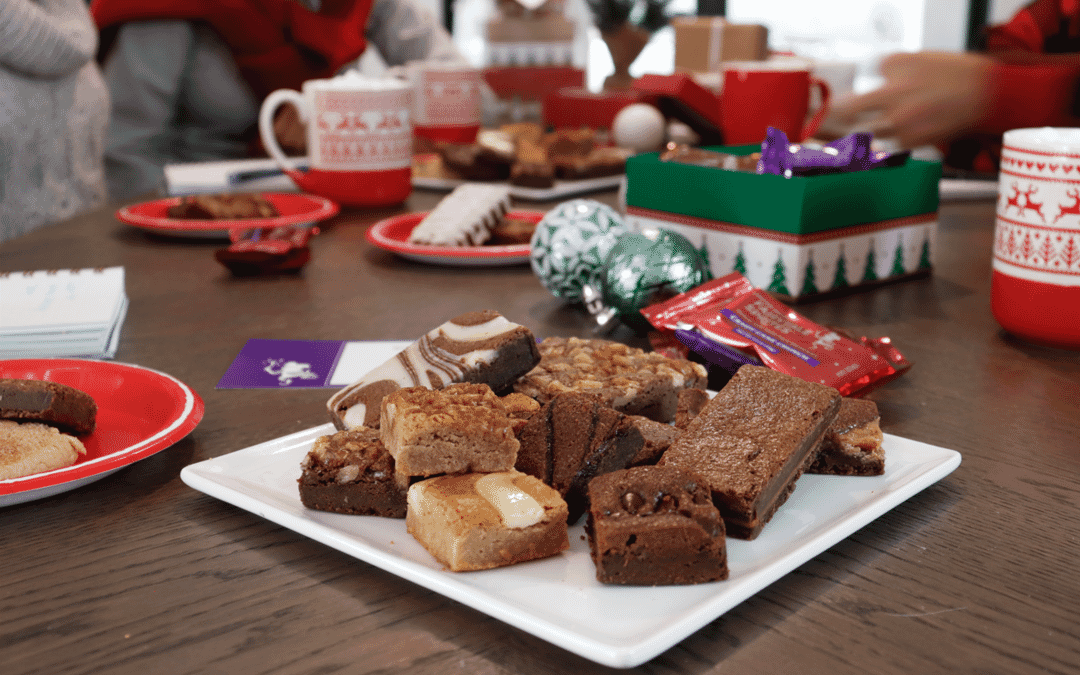
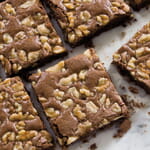
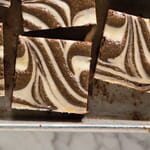
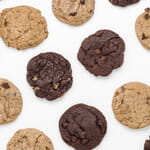
Fairytale’s focus is dessert – brownies, blondies, and cookies – so we tend to look for items that go with baking, serving, eating, and gifting
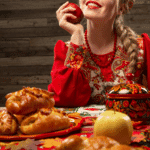
Our props like plates, linens, decorations, backdrops. are organized according to type, color, holiday, and occasion.
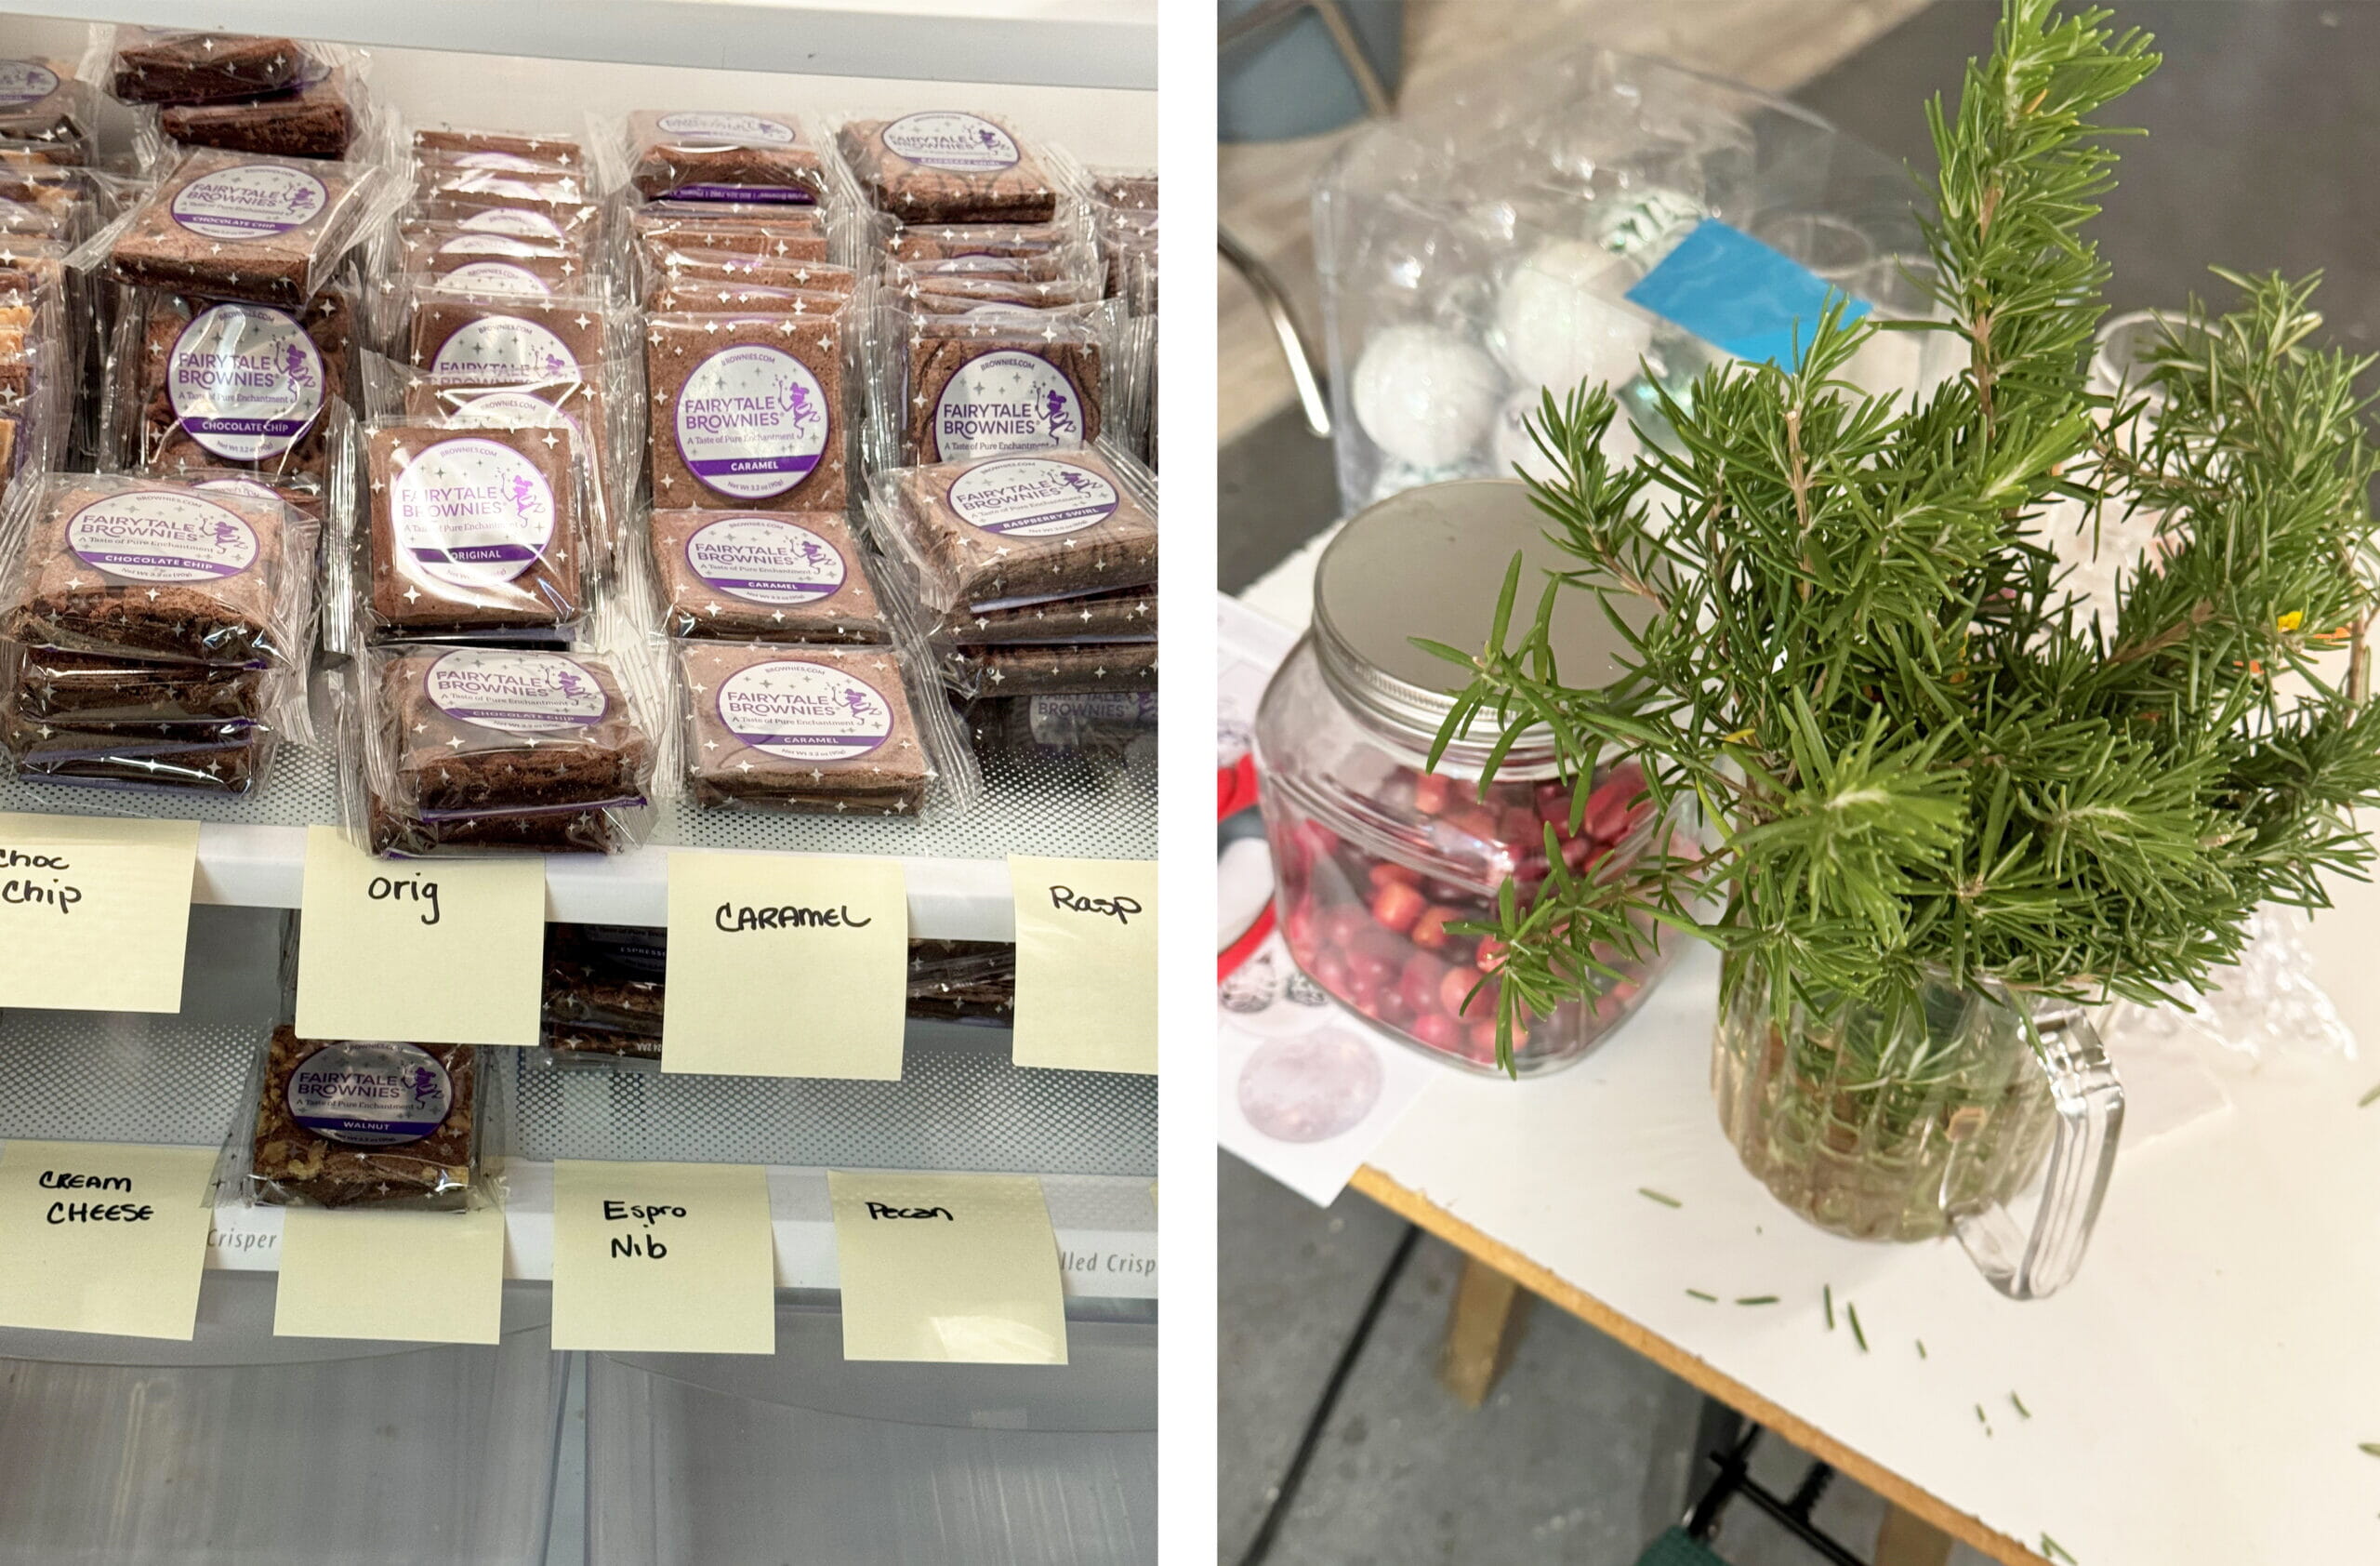
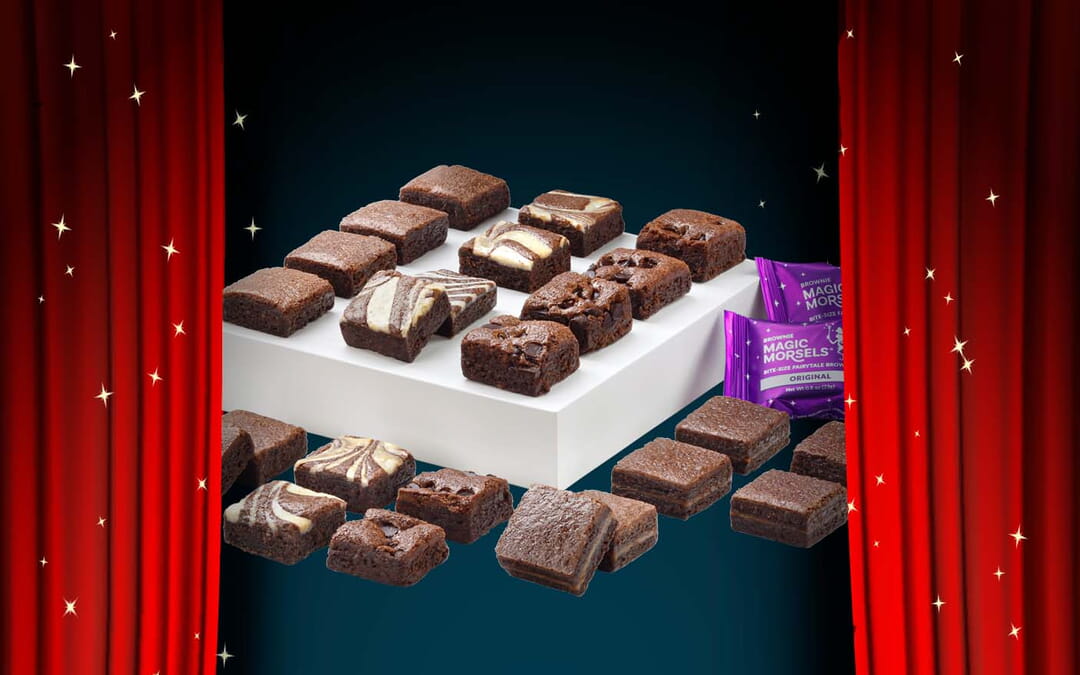
Because our treats are the stars of the photos, we bring more than enough product to our photographer to ensure only the most perfect make the cut. No cracks or broken edges are allowed. We also like to include wrapped treats as well as unwrapped in our photos.
If you are featuring a finished product or a specific process to a recipe, you can capture the different steps at the shoot by having the product prepared in its various stages. Having an assistant or two will save you time, but if you are the only person prepping, do this ahead of your food photo shoot.
3. Time to Shoot
Know this: Something might not go as planned during your photo shoot. Technical issues, bad weather, poor composition. Expect it and work through it. You will survive.
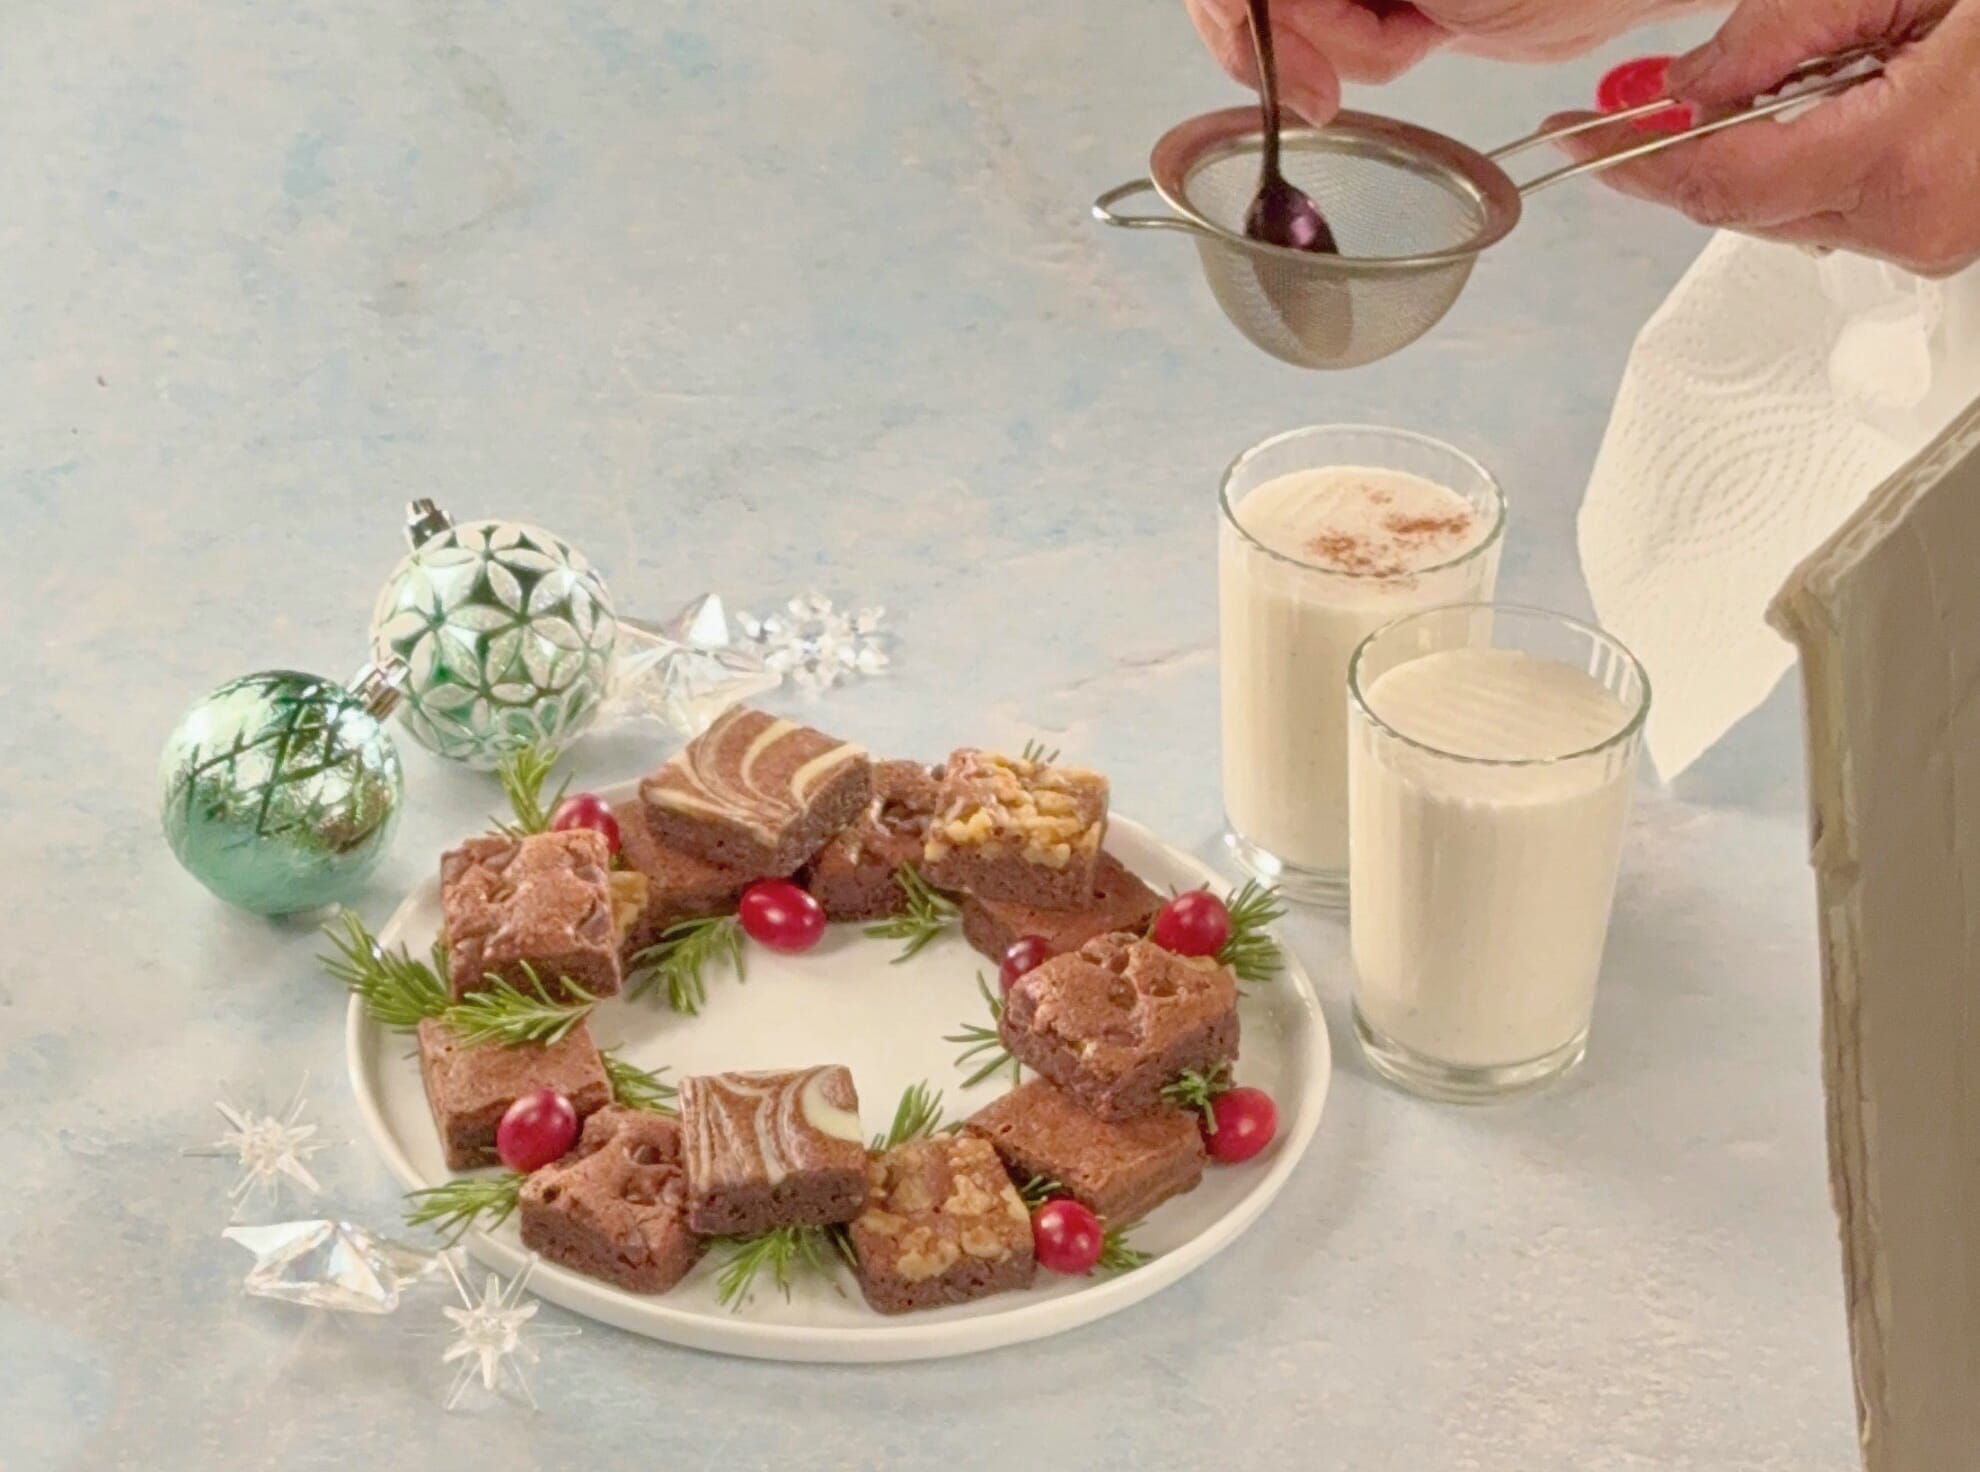
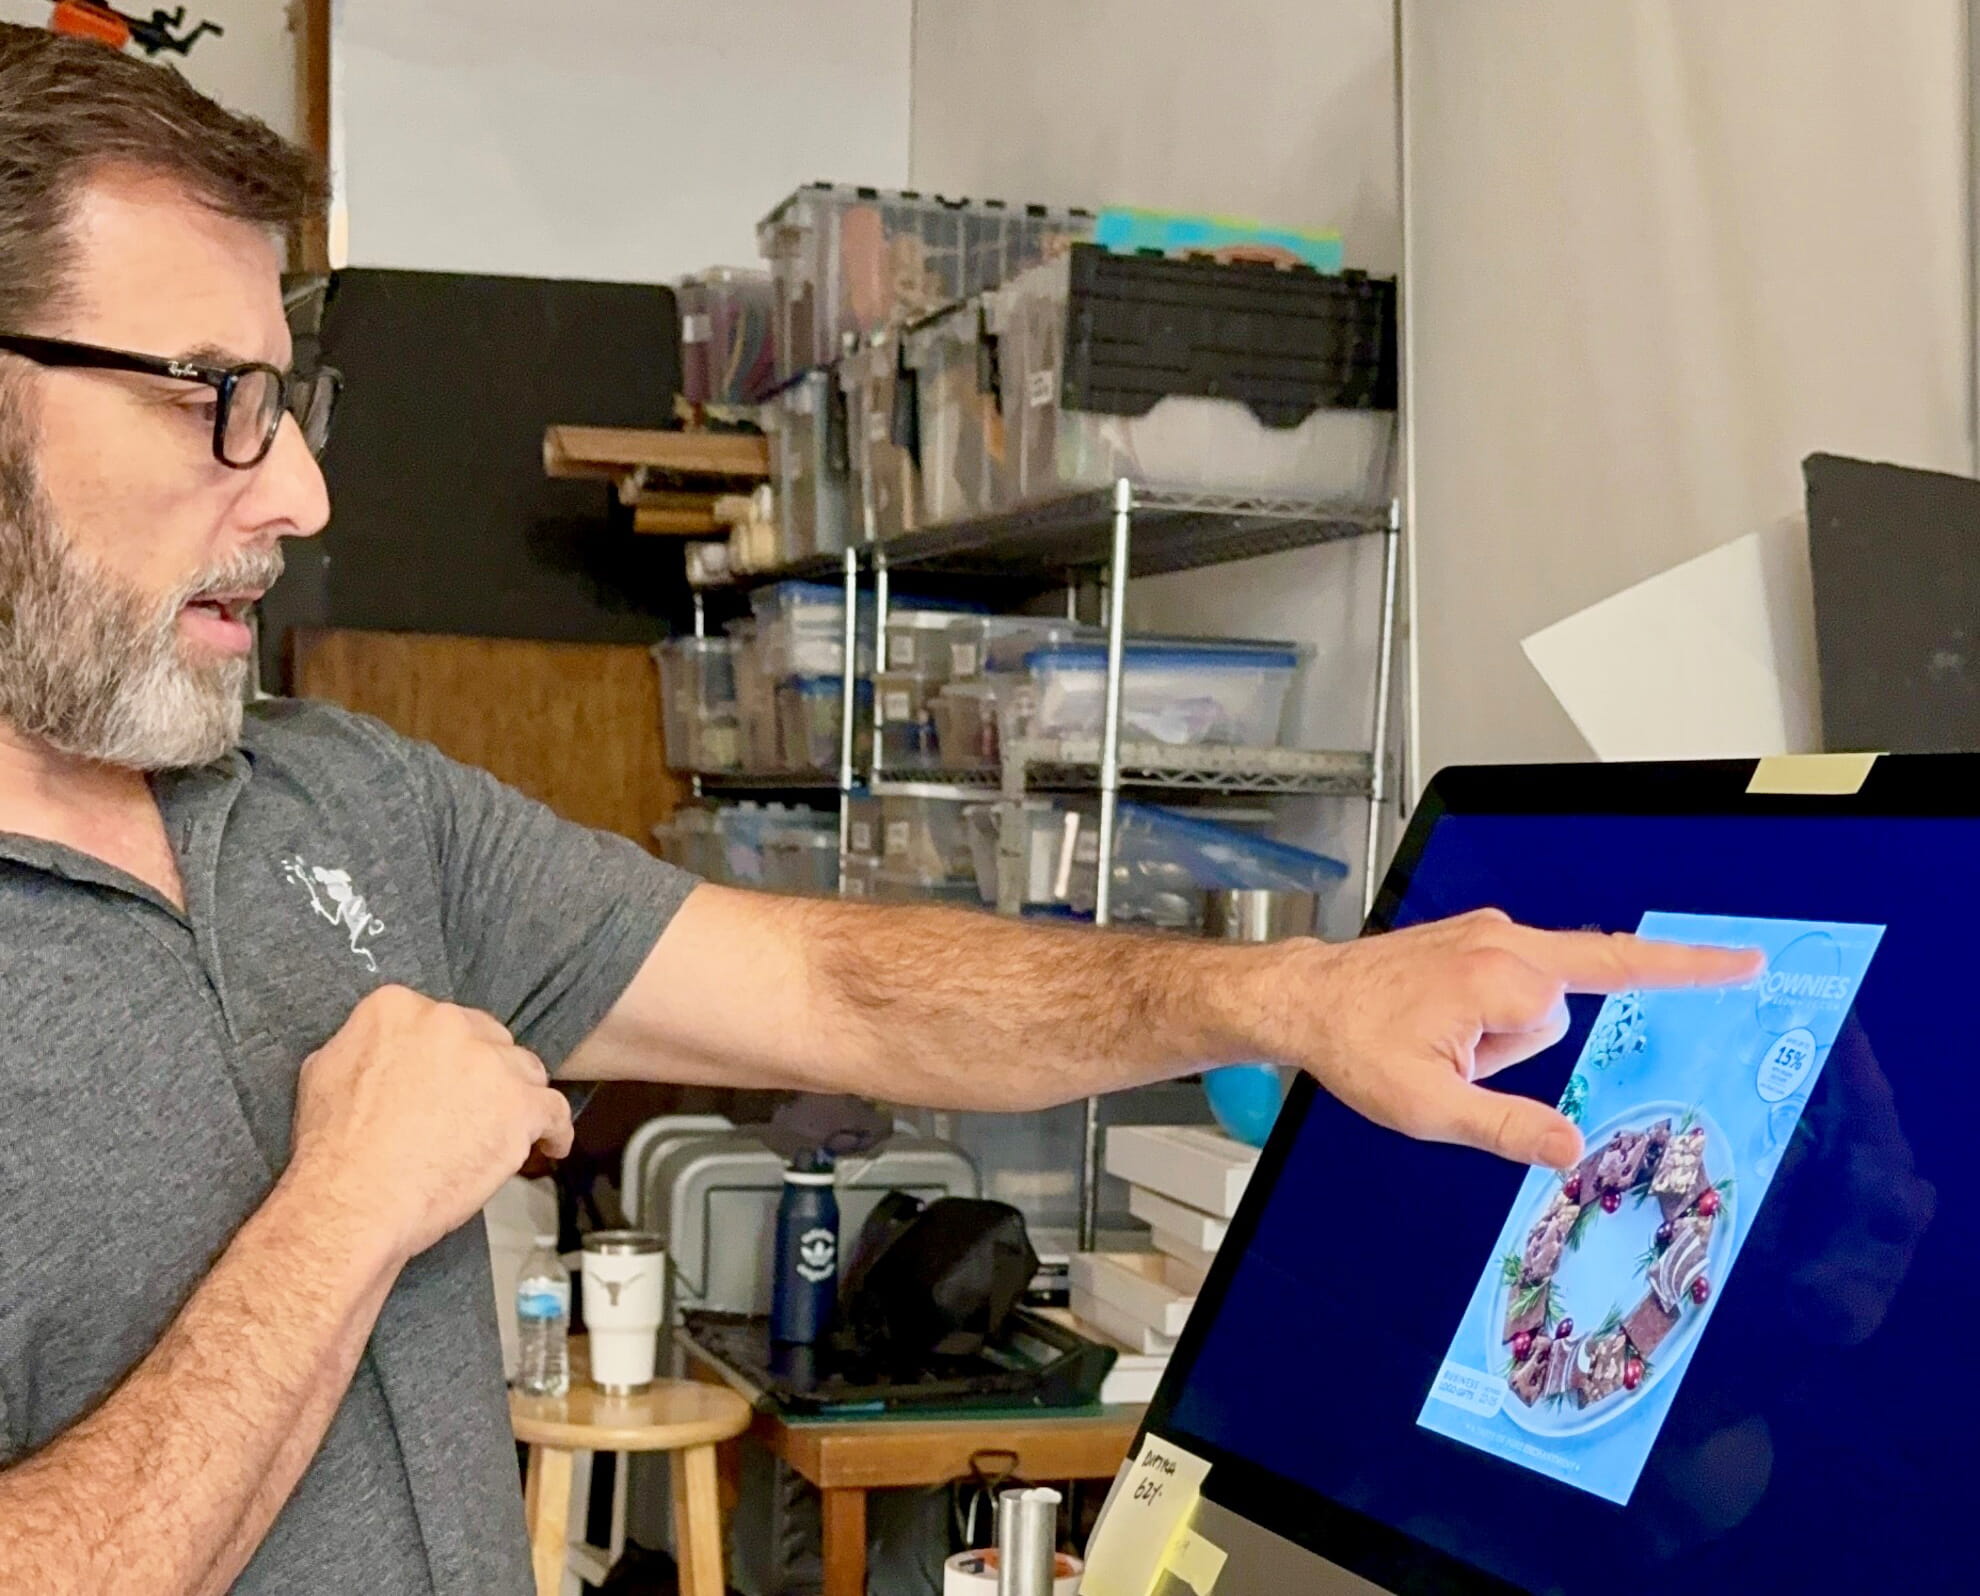
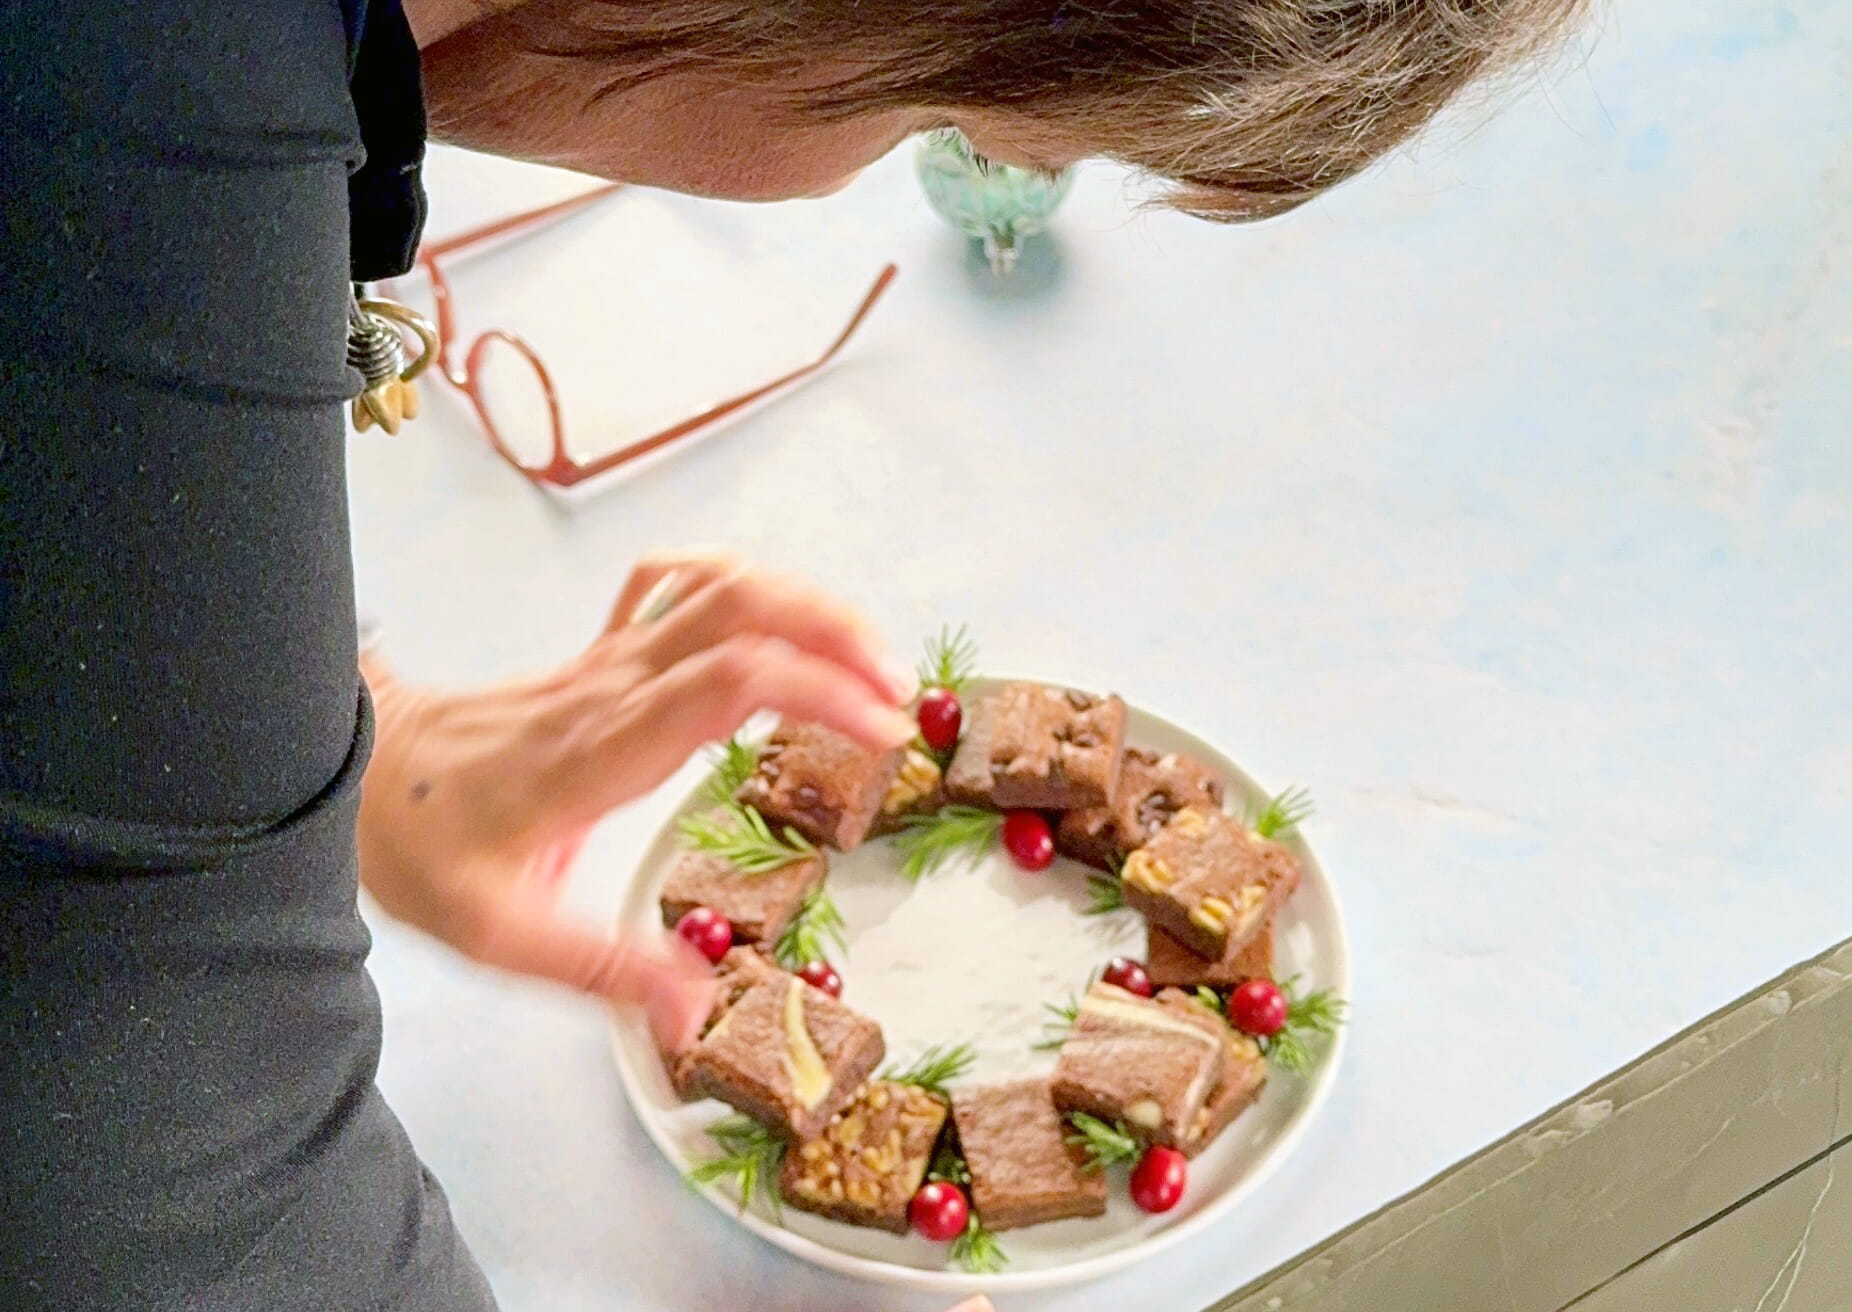
Most of our professional food photo shoots take place at the photographer’s studio. So, we bring everything needed for each shot to him. He shoots tethered so we can see everything immediately on the computer and adjust accordingly. Catalog cover shots generally take longer to shoot. Gift product shots – less time.
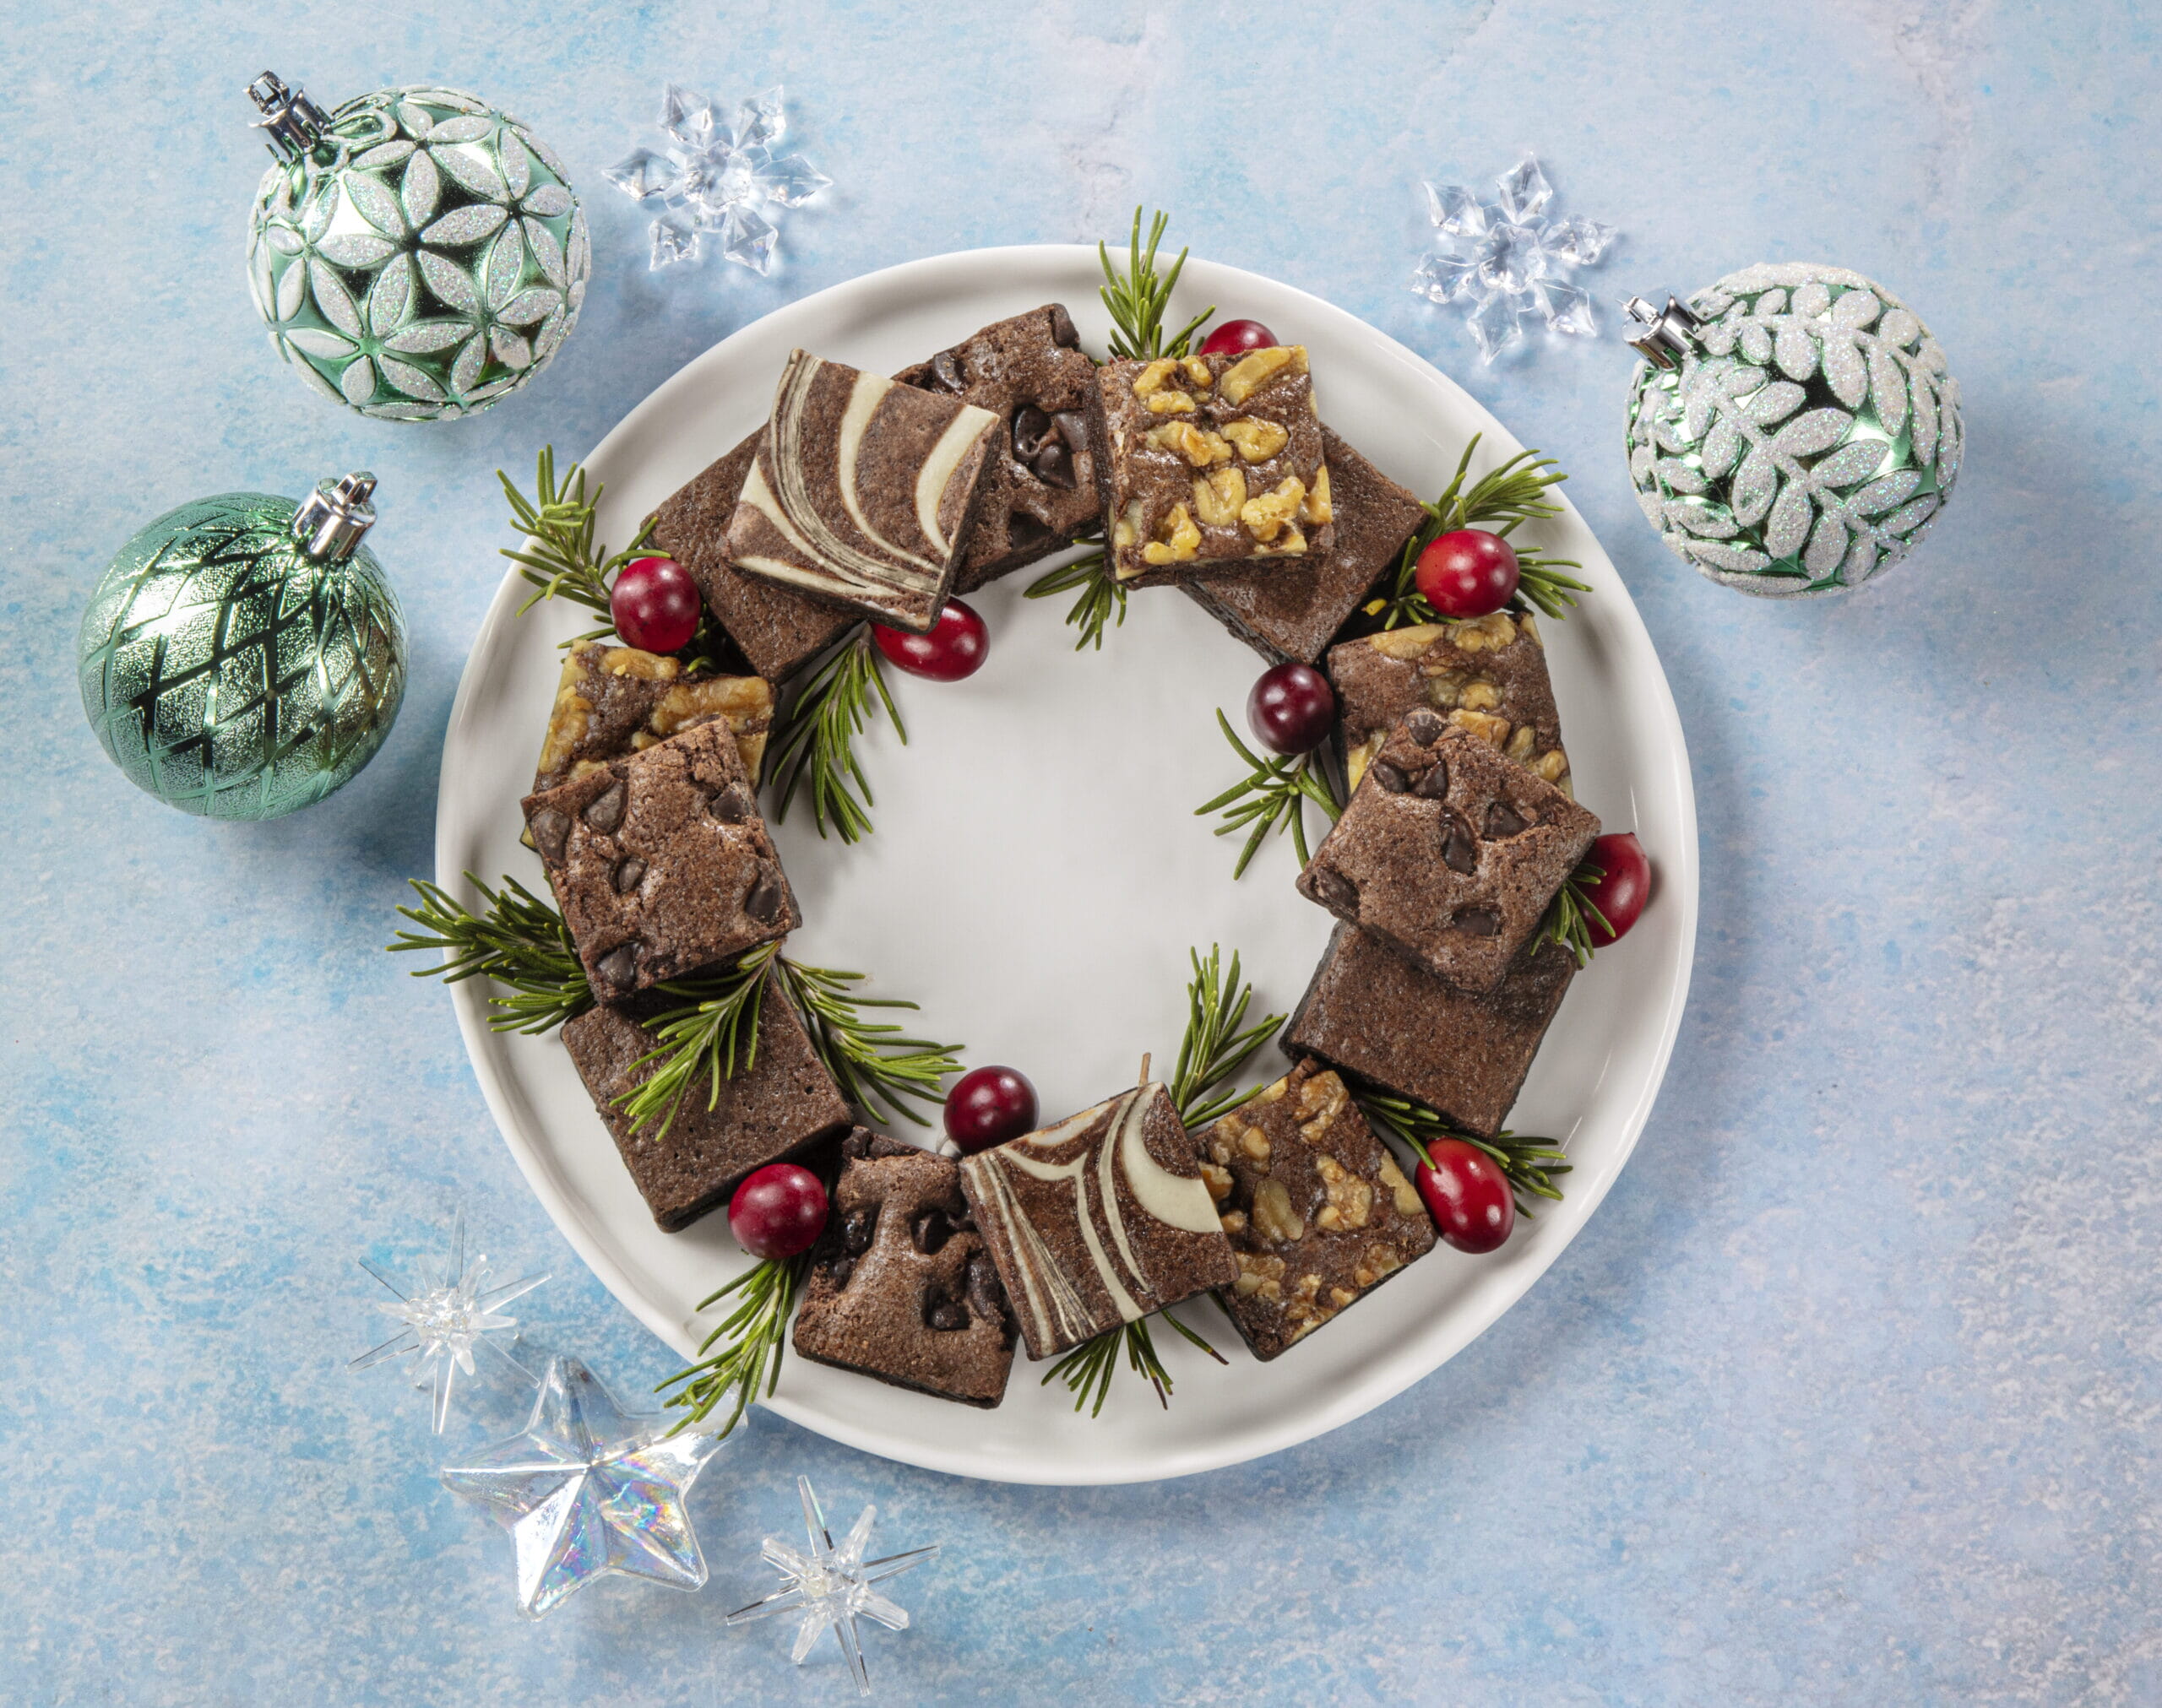
Here is an example of a recent Christmas cover that transitioned from concept to finished product.
Follow Us on Social!
Our catalog covers and some of our beauty photos are shot by a professional photographer twice a year, but we take in-house photos year-round that you might still enjoy drooling over. Check us out and follow us on Facebook and Instagram at @fairytalebrownies, and on TikTok, Pinterest, and X at @ftbrownies. We even have giveaways from time to time!


